Photo Emulsion Print Making At Nevada Museum Of Art

IMG_2178 copy
When I signed up to take Screen Printing class at the Nevada Museum of Art, I registered two classes; drawing fluid and photo emulsion. I've never done any kind of screen printing before so this post is not a tutorial but a share of my experience. I apologize for any technical details I have butchered or left out completely. If you have any information to add, comments are appreciated. Most importantly I had an enjoyable time and considered it a mind vacation.

IMG_2163
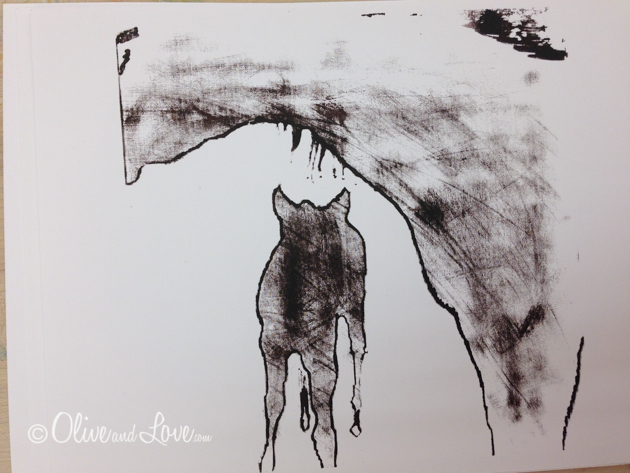
I brought with me a variety of transparencies photocopied with images I had taken previously (without this process in mind). Unfortunately I did not reduce the image to a line drawing in the proper pixel size (meaning my images still had too much detail) so I crossed my fingers for the best results. The best way to do it is to convert your photo to Bitmap on Photoshop. You can also draw images and photocopy or draw directly onto the transparency.

IMG_2158
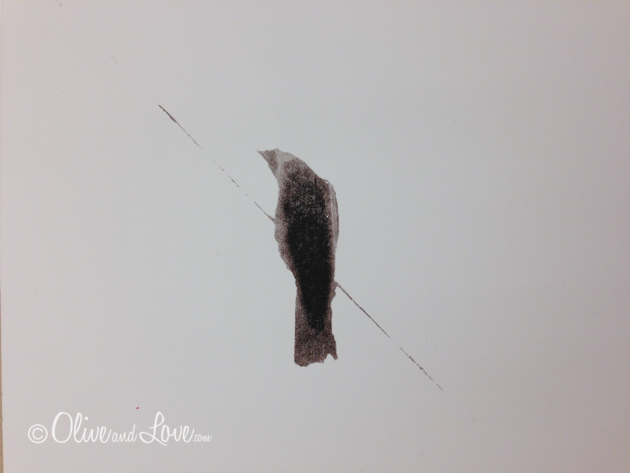
I chose two unrelated images to possibly incorporate together.
[googlead]
IMG_2154
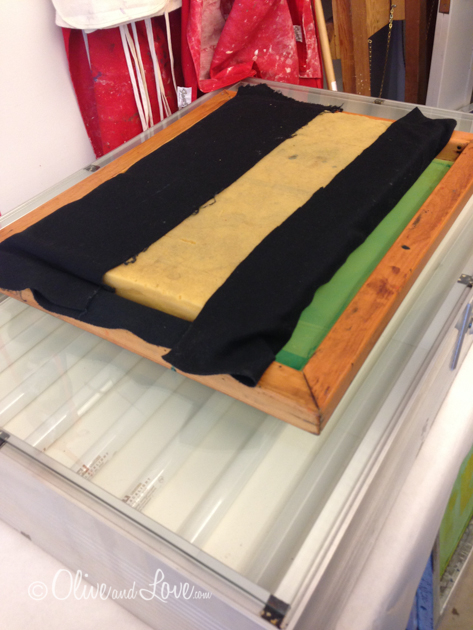
Our screens were prepared prior to class by our teacher, Candace Nicol. Using a squeegee or scoop coater, the screens were covered top and bottom with a thin even coat of a photosensitive substance called emulsion and a sensitizer for twelve hours. The transparencies are then placed on the mesh screen over the tanning booth light contraption (I do believe that is the proper term....not). A black cloth coated foam and a board are then layered on top. There are various ways to achieve proper light exposure at home with flood lights if you don't just happen to have a mini tanning booth.

IMG_2155
IMG_2156
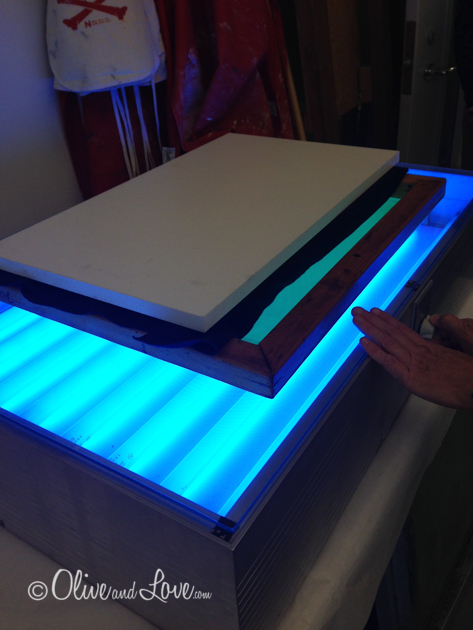
The light is turned on for a few moments. It is the light which hardens the emulsion. Areas where the emulsion is not exposed will remain soft and can be washed out of the screen with water (thus allowing ink to pass through and produce your print)
IMG_2157
There are a variety of different mesh sizes available. 200-330 will achieve results with fine details. 120-160 will fill with out a lot of detail and 60 is for larger glitter size.

IMG_2161
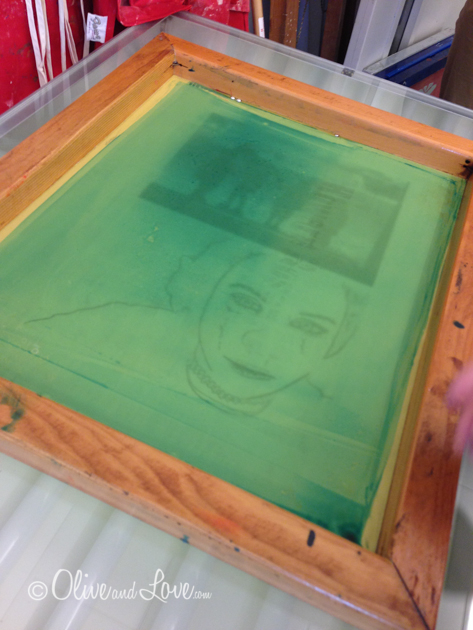
Unfortunately there was an issue with our emulsion arriving to the studio in time for class, but our teacher made the best of it and the product she used wasn't quite as good but we all ended up with satisfactory results. Careful not to scrub too hard (removing too much emulsion) we washed off our screens, revealing a clear mesh in the shape of our transparency images. [googlead]
IMG_2173
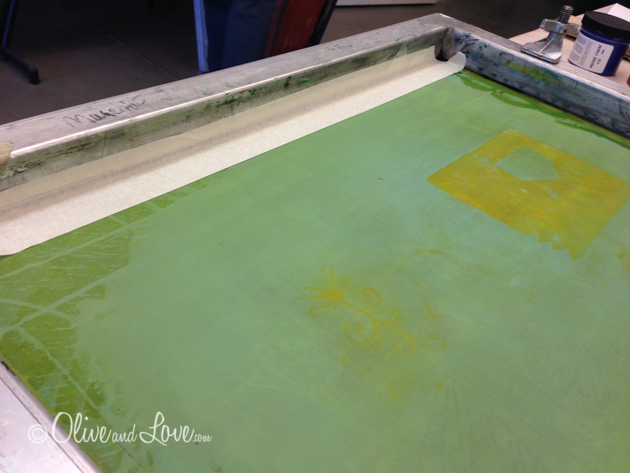
Painters tape helps to seal and protect the edges of the screen.

IMG_2176
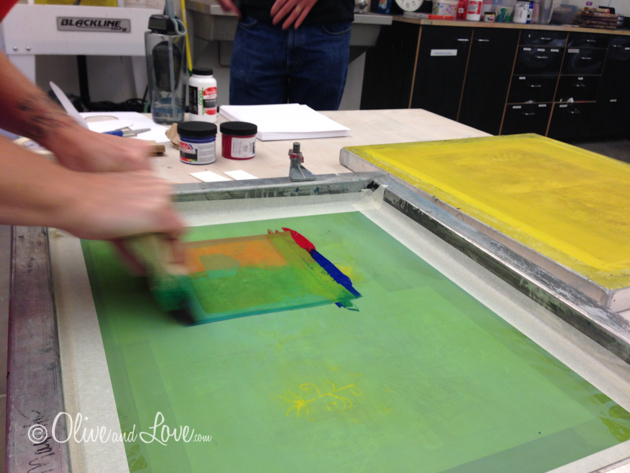
Ink is then placed on the screen and pulled down across the image (more information about screen printing), depositing ink onto the paper placed under the mesh.
IMG_2178
IMG_2179
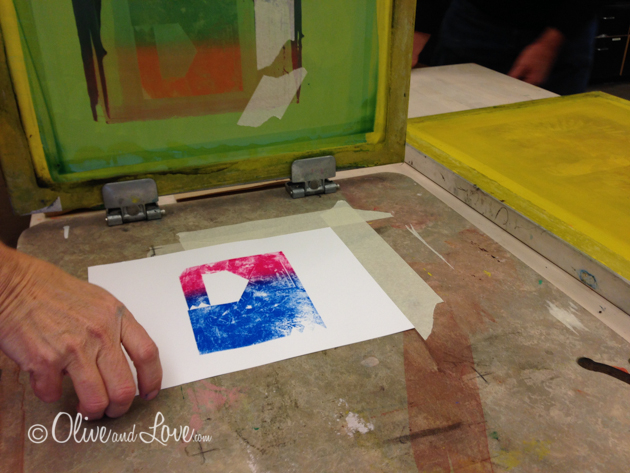
In the above series, instructor Candace Nicol used two inks during one swipe, giving the image blended colors.

IMG_2183
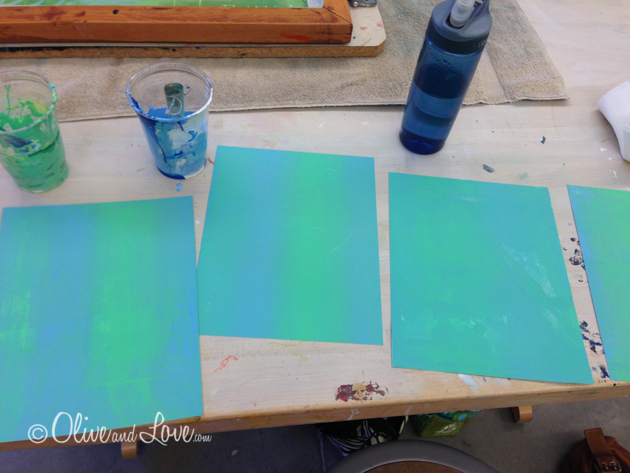
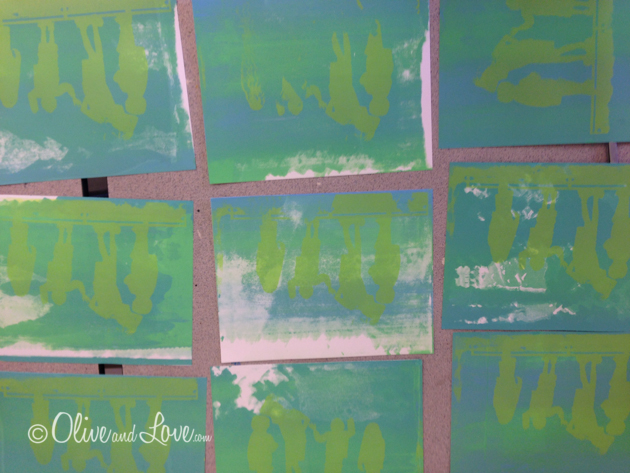
I premixed my inks to a light blue and green. I then screen printed the whole paper as a backdrop, blending the two colors as Candace had done in her example.
IMG_2180
IMG_2182
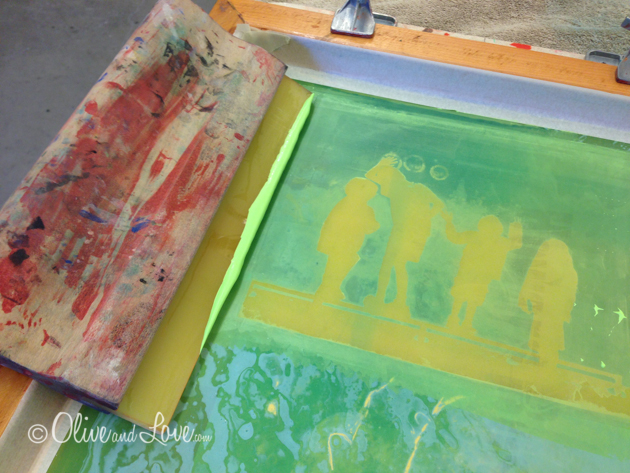
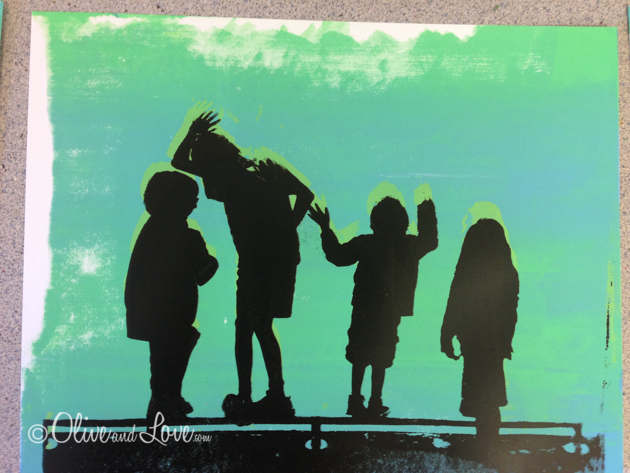
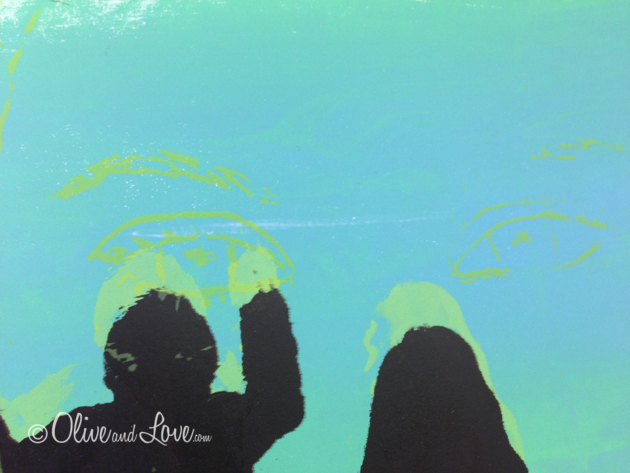
Next step is to screen print one of my images onto the backgrounds. I chose to start out with a lime green color.
IMG_2184
IMG_2190
I did a second pull using the same image but with black on top of the lime green. First removing as much of the green ink of the screen as possible using a towel, and then rinsing it in the sink and allowing time for it to dry.

IMG_2193
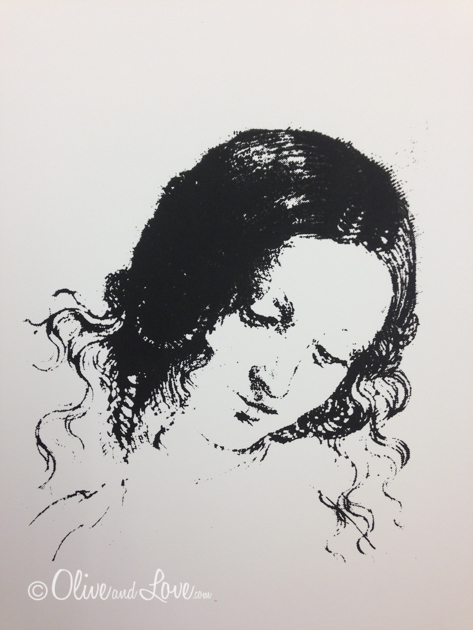
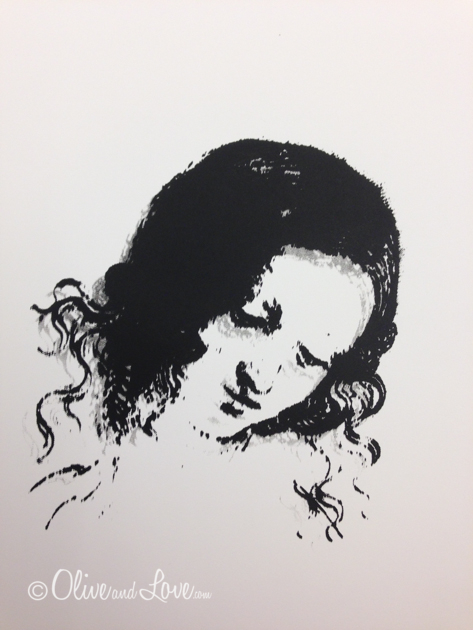
My face image didn't come out as great because of the fine detailed lines. I only used it over a couple prints.
IMG_2192

IMG_2194
Quite an interesting process, the possibilities are endless. After all is said and done, clean up requires certain chemicals to remove the images from the screen. Photo-emulsion remover (ER/80) is available at www.silkscreeningsupplies.com
The following prints were made by Candace Nicol and fellow students:

candace
IMG_2197
IMG_2196
IMG_2199
IMG_2198

IMG_2195