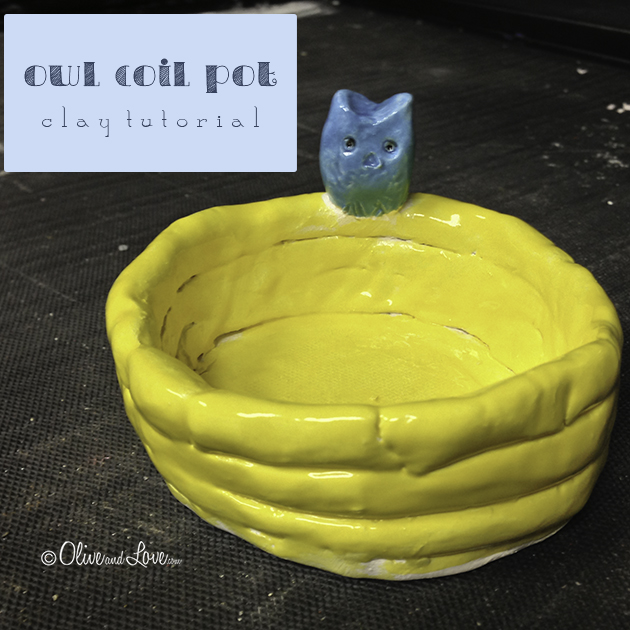
Owl Coil Pot Clay Project

coilowl
Coil Pot with Owl
Please refer to Clay Guide lines
Printable PDF coil ow lpot
Supplies:
four inch circle template
clay mats
small bowls for water
wooden skewers
Prep:

IMG_1345 copy
Using wire tool with handles, slice off chunk of clay one level inch down from top and divide into eight equal sections (one per child).
Roll enough of the remainder clay at 1/4 inch thick and divide into approximate 4 inch squares.
Students:

IMG_1381
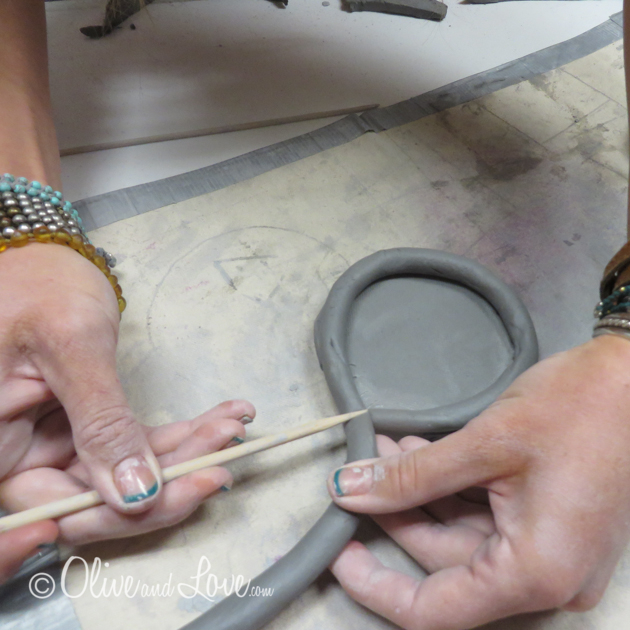
Trace circle template using needle tool, cutting out base of bowl.
IMG_1383-2
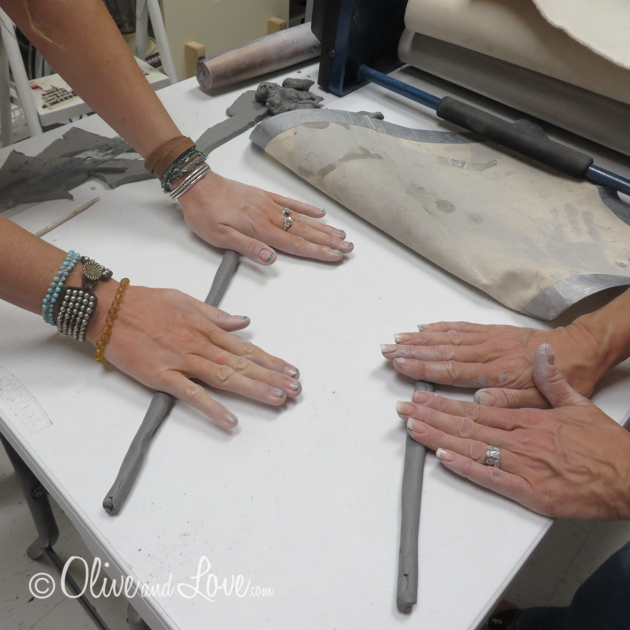
Make 3/8 inch coils by rolling clay between hands and clay mat.
IMG_1385-2
Lay coil on top of circle bottom to measure length, cutting coil to insure a perfect fit.

IMG_1384-1
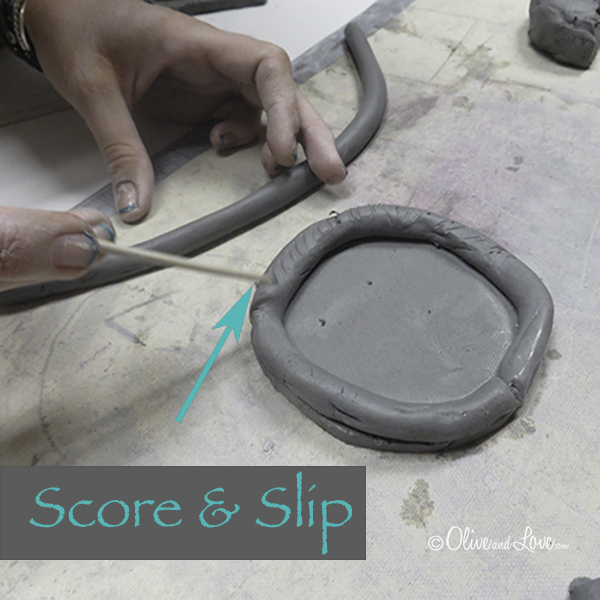
Score the surface of the clay bottom and the coil bottom where the two will meet.
Wet the clay using finger or moist sponge.
Place coil on clay bottom, wiggling slightly until firmly attached.
IMG_1388 copy
Keep adding layers of coil in the same fashion, scoring and using slip in between layers.

IMG_1392-1
If the cut coil isn't long enough to complete the layer, cut another piece of coil to fit the space.
For a smooth appearance of clay (vs. leaving the coils) support the clay on one side while the hand pushes and smudges the clay on the opposite side.
Make sure the coil cuts are not directly on top of one another.
To slightly widen the pot towards the top, use longer coils for each layer.
Bowls require three to four coils each.

scoreoily
OWL:
Using a small ball of clay, hand sculpt into egg shape. Using a dowel or pencil, press slightly into top to form dent between ears. Using the end of a pen, make two circles for eyes. Using tip of pen/pencil, make pupil imprints. Slip and score to attach owl to lip of bowl. Smudge part of the front of the owl down onto the bowl, and make lines with the needle tool to form feet/claws.
Options: alphabet pasta pressed into the wet clay can be used for quotes and names, etc.
Options: Use score and slip method to attach ball feet
Options: Leave coil form on the outside of pot, while only smoothing the inside.
coilowl
References:
For full photo tutorial: http://www.oliveandlove.com/?p=4458
http://www.lakesidepottery.com/Pages/Pottery-tips/Making-a-clay-coiled-pot-Lakeside-Pottery-Tutorial.htm