Cupcake Clay Project

cupcake
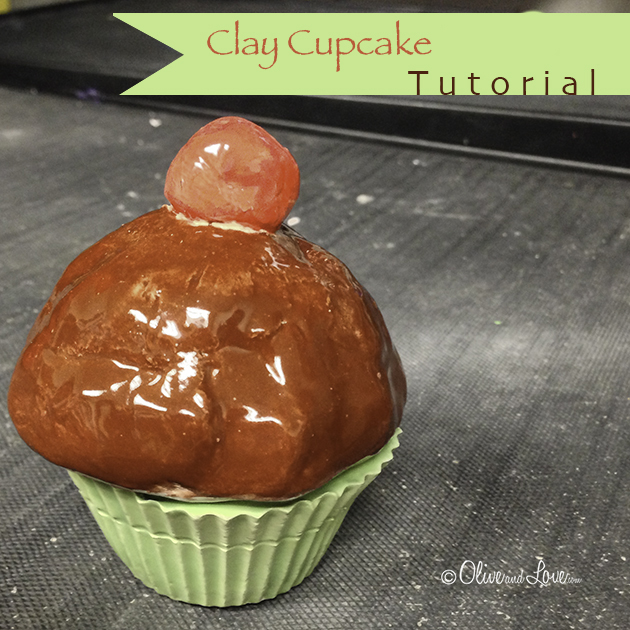
Clay Cupcakes
Please refer to Clay Guide lines
Printable PDF cupcake clay project
Supplies:
silicone cupcake baking cups (one per student)
small bowls for water
sponges (optional, can use fingers)
clay mat
Prep:
IMG_1345 copy
review Clay Guidelines
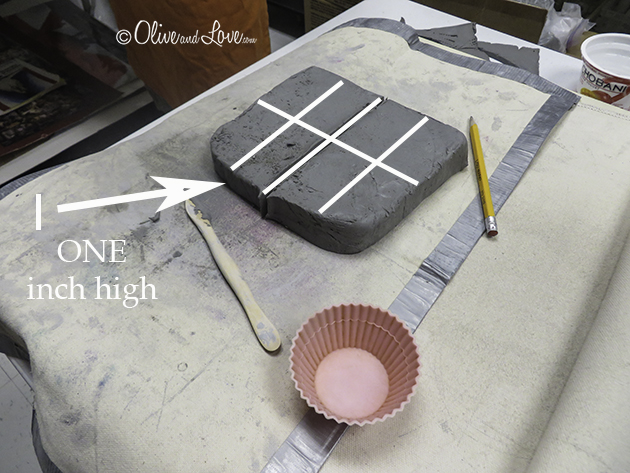
cut the clay using the wire tool with handles, one inch down and then slice into eight (two lumps per student)
Students:

IMG_1346
roll both pieces into balls: one will be bottom and the other will be a pinch pot top
pinch off small cherry size piece from one ball

Untitled-1
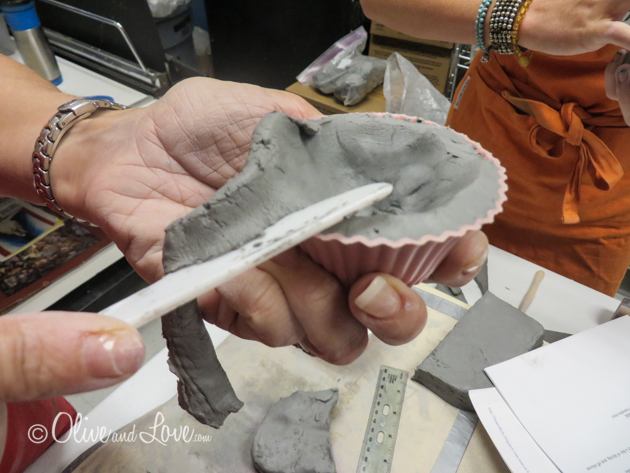
push one ball into the silicone cupcake mold
make sure the clay is at least 1/4 inch thick, if it is too thin it will crack
IMG_1352
carve off the excess clay using a plastic knife

IMG_1348
roll second large piece into ball and then pinch it into a bowl shape which will be the top of the cupcake
smooth edges with water

IMG_1355 copy
Make sure the cupcake top will fit on the bottom
roll last clay piece into cherry
score top of cupcake, add a small amount of water and wiggle cherry until it feels secure
using needle tool or wooden clay tool, carve initials or name inside top and inside bottom of cupcake

photo 3-1
when glazing, be sure not to glaze under sides of cupcake
Volunteers:

IMG_1358
cupcake can be dried as one unit using a piece of paper between top and bottom
after a day of drying, pop off silicone molds, wash, and return to cupcake tub

cupcake
References:
For a full photo tutorial: http://www.oliveandlove.com/?p=4388
http://artfor1170.blogspot.com/2011/12/cupcakes.html
http://artatherod.blogspot.com/2010/12/yummy-cupcakes.html