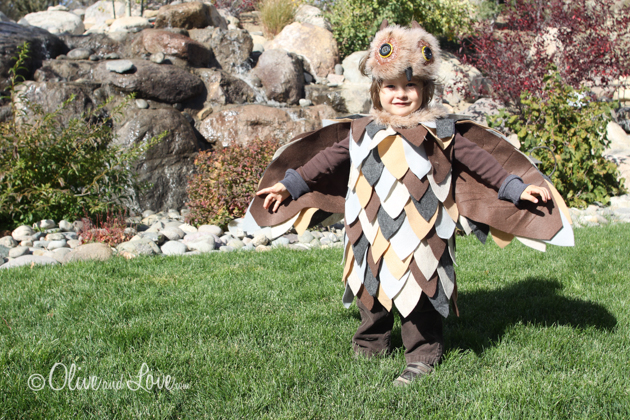
The following is a tutorial for an owl costume. It is fairly simple and easy to put together. Perhaps if I was able to work on it for more then 15-30 minutes at a time, it wouldn't have felt like it took for-EVA!. It's definitely not as fast as the similar
Bat Costume. But I finally did get it finished and it is adorable! Who could resist a three year old asking to be an Owl for "Owloween"?
[googlead]
FEATHERS:
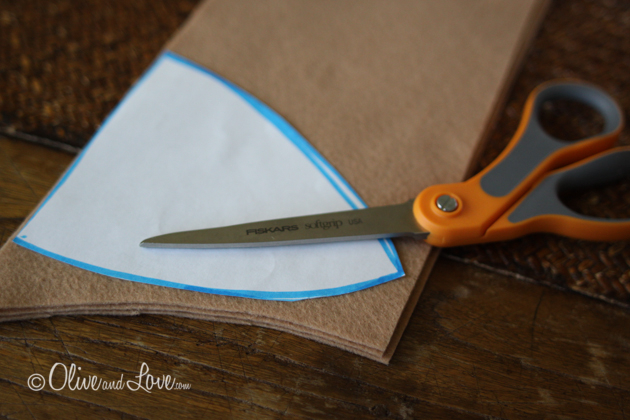
I bought a 1/4 yard each of tan, light grey, dark grey, and light brown felt. I bought one yard of brown felt. I cut a feather pattern out of paper measuring four inches wide at the base and five inches long.
I cut five inch strips from each of the 1/4 yards where I was able to get three feathers from each strip. I saved the last remaining rectangle for, well, who knows what...
[googlead]
Using my trusty
Fiskars scissors I was able to cut 3-4 feathers at a time. Which is good because I needed a lot of feathers!
BODY:
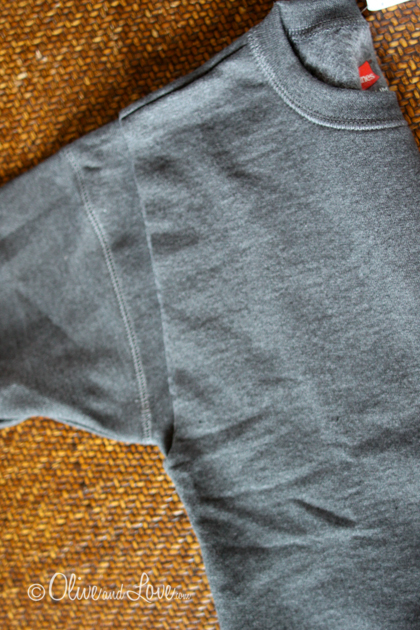
I cut the arms off a grey sweatshirt, child size 6/7. I looked for a brown sweatshirt, but not long enough to actually find one.
Flip it wrong side out and roll the shoulders as you sew the seam.
The result is a sleeveless sweatshirt with no raw edges.
[googlead]
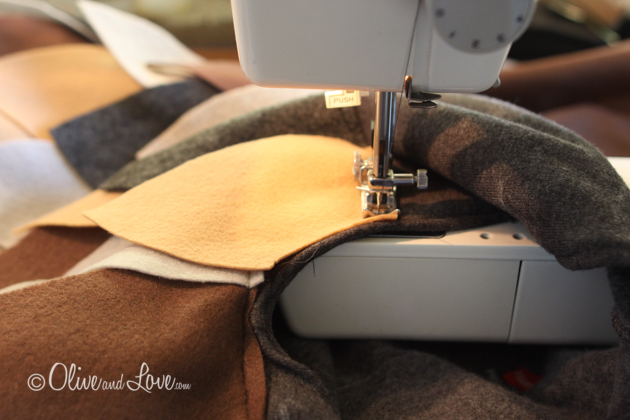
Sew the feathers to the bottom of the sweatshirt.
Using a white crayon, I made marks 1.5 inches up from the base of the feathers, and then every 1.5 inches up to create rows of lines to sew feathers.
I didn't want a pattern with the feather colors so I just placed them randomly.
I sewed the feathers all the way up the front, cutting them around the arm holes and sewing them down where they met the seam. The back is only feathered up the middle where it would show under the wings.
[googlead]
owloWINGS:
To determine wing span, I laid my little "owl to be" on top of the fabric and marked finger tip to finger tip. You could probably use a tape measure too.
Folding my fabric in half, I cut two tear dropped wing shapes.
Using liquid stitch glue, I placed feathers on the wings to hold them in place. I have them angled to create a smooth edge on top and with the points 'feathered' on the bottom.
Very carefully I lifted the feathers and sewed them to the base wing.
Both wings are very similar as I laid the first one down to use to copy the second. I sewed them to the back of the sweatshirt along the base of the wing and part of the top.
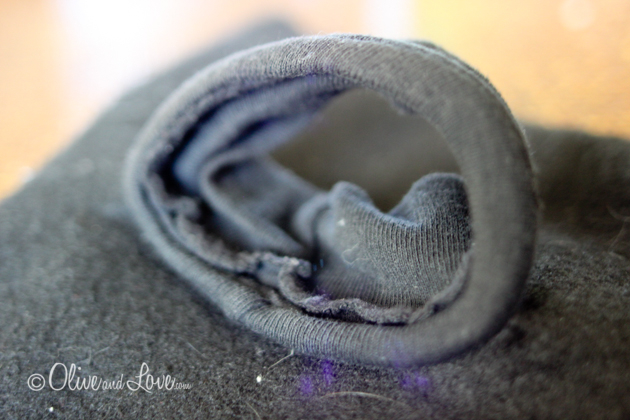
I cut off the wrists of the sweatshirt, hemmed the raw end and sewed them onto the wings at the appropriate wrist location that I marked while my son was wearing the winged costume. (This picture is from the
bat costume).
[googlead]
HEAD PIECE:
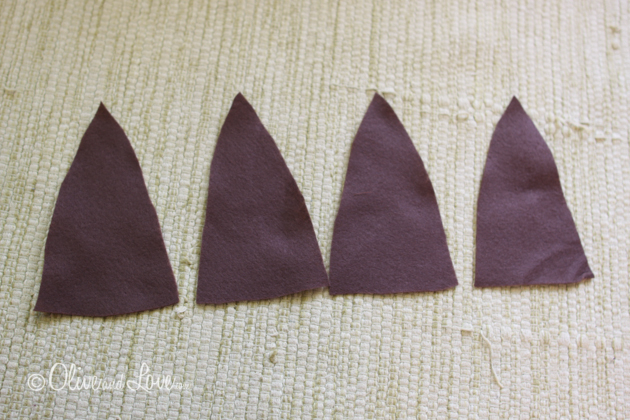
I cut four ear shape triangles from the brown felt, sewed two each together and pulled them right side out.
I sewed them to a piece of black elastic that I measured and sewed to fit my son's head.
The eyes consist of two copper scrubbies, two yellow buttons and two black buttons. I sewed them directly onto the base of the ears but found he looked like a fish after the elastic stretched around his head. I cut the thread and restitched the eyes closer together and further up the headband to avoid the copper touching his forehead. I added brown marabou boa around the eyes and around the collar of the body.
The nose is nothing to write home about and shows up poorly in photos. It's simply a carrot shaped piece of black felt, stuffed with scraps and attached between the eyes. Parenting has an owl tutorial (originally I found it in an October 2008 issue) that I combined with another tutorial from Country Living. The nose on Parenting is a finger from a black glove. The cheapest black gloves I could find at Home Depot were five bucks and I wasn't about to shell out that kinda dough.
Overall I'm pleased with how my Owl looks (after a bit of drama to actually get him in the thing).
Happy Owloween!
linking to:


