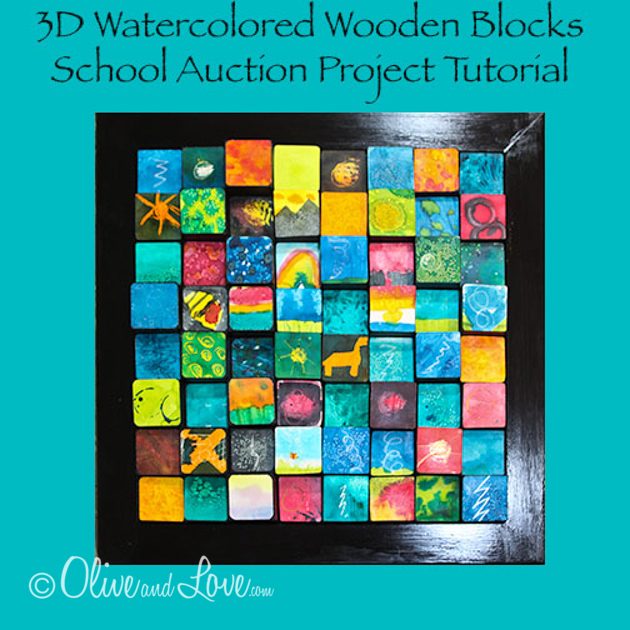
3D wooden blocks - Children's Auction Art Project
woodenblocks
Remember last year's (2010) auction art project 'Vase with Flowers'? And last February's 'Our Neighborhood'from the primary students? Well I'd finally like to share the lower elementary class auction art project 'Our Universe.'


Dan helped me cut 4x4 posts to varying lengths. Because a 4x4 isn't truly 4 inches by 4 inches, these squares were about 3.5 x 3.5 inches.

The students primed the blocks with gesso (any primer will be fine) and then painted each one with acrylic black paint.
[googlead]

Working with one to three kids at a time, I gave a short tutorial on watercolor techniqueswhile referring to a laminated poster of samples I painted.

Each student was given a piece of watercolor paper divided into four 4x4 pieces using blue painter's tape.

The students were encouraged to use a limited color pallet to avoid muddy paint. We received our bright wonderful watercolors as a donation from Discount School Supplies.


After all paintings were dried and complete, each student chose his or her best two.

shopping
The watercolors were then sprayed with UV protectant and a gloss and allowed them dry. We separated them (making sure names were on the back) and played around with their overall placement for the final piece.
[googlead]

Separately from the watercolors, we organized the blocks in an equal type fashion.

The students helped give the final okay. Everyone voted and decided upon the name "Our Universe."

Each block and coordinating watercolor was given a code from A-1 through H-9. Actually I had to have help with that. For some reason, I just could not get the letters and numbers from my head to my hand. (call me coocoo.....)
[googlead]
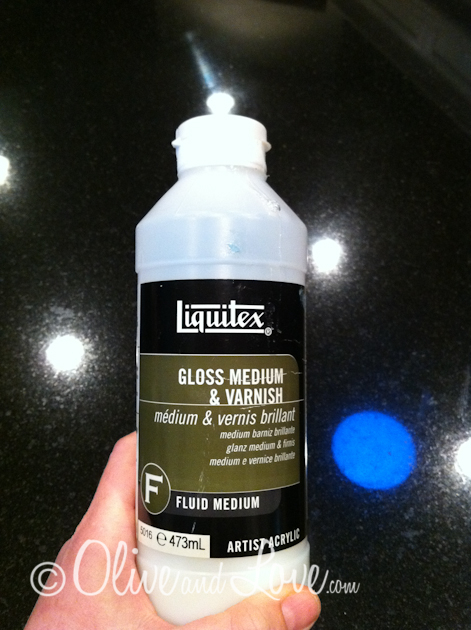
With the help of the teacher and the room mother, we traced and cut the papers to match the coordinating block. Because we didn't plane the posts, each block was shaped slightly different around the edge. Getting it just right was a bit tricky. We then glued the painting to the block using an artist quality glue such as Liquitex Gloss Medium & Varnish......but NOT before writing down the code and coordinating name of student (for graph). Using my fingers, I held down the corners of the artwork onto the block, taping around so I didn't glue myself in the process. I did this for about a minute per block, or until it held for shizzy!

20110203-IMG_1562
I used Liquitex Gloss Medium and Varnish to glue the watercolors onto the blocks.

20110203-IMG_1563

20110203-IMG_1565
8 blocks one way was different then the other way due to slight differences in size.

The frame consisted of two 1x4s and one 1x2 planed and glued together. The corners were mitered, a back was added and the whole thing was glued and nail gunned together. We primed, painted and glossed the frame.

Next I double checked the placement of the blocks. A couple adjustments were needed to achieve a balanced piece.

[googlead]
In a fast maner, Dan and I glued each block to the frame using liquid nails. The glue dries quickly so we had to keep up a certain pace to literally allow for wiggle room.

The final piece was absolutely beautiful.

Dan added a support bracket to help with weight.

This was quite a piece! Unfortunately I did not do a sample one with my family first. Maybe someday we'll make something similar for us to keep!

Thanks to the wonderful family who won the bidding war at the auction.
May you enjoy it for years to come!
[googlead]
A big THANK YOU also to
for their awesome donation of watercolor and brushes! Thank you so much!!!!