Our Neighborhood - Children's Auction Art project
OurNeighborhoodbutton
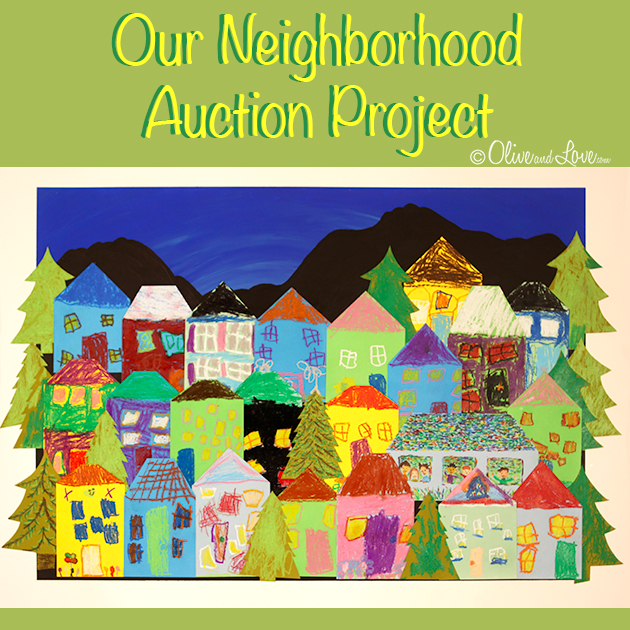
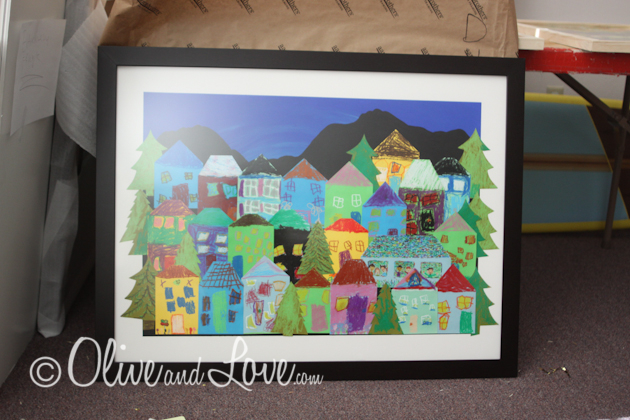
The 2011 primary class' Auction Art project is complete!

houses copy
This year I found my inspiration online during a "kids art auction project" search on google. I came across a fantastic 1st grade project coordinated by Erin at
She used two projects to include all students, however we decided to use one large backdrop to incorporate all in one. I went to Aaron Brothers and chose a mat board and their largest frame at 27" x 36". I also picked out a second mat board and frame at 36" x 24" because I like to do the same project with my kids at home. This way I can get the kinks worked out before I work on the school's project! Aaron brothers will cut the outside dimensions of your mat board to fit your frame, free of charge.
20110103-IMG_7041
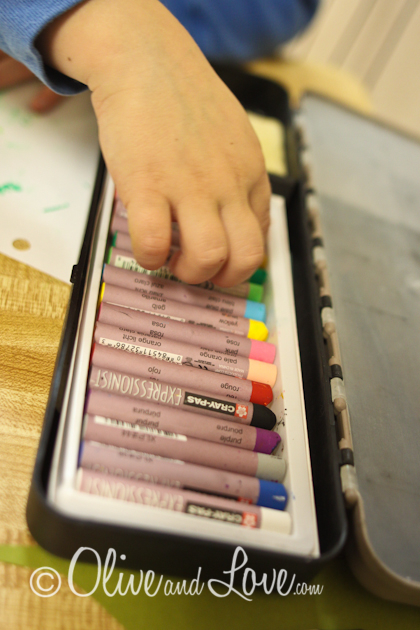
I cut trees and houses out of acid free colored paper (found in the scrapbooking aisle). Each first year primary student colored their tree or trees using a choice of two green oil pastels.
[googlead]

20110103-IMG_7033

20110104-IMG_7068

20110114-IMG_7245
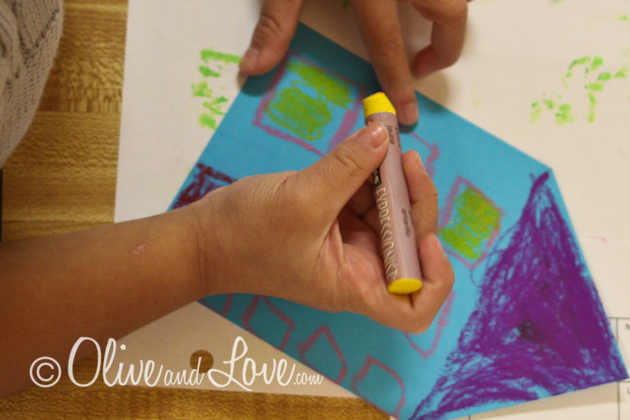
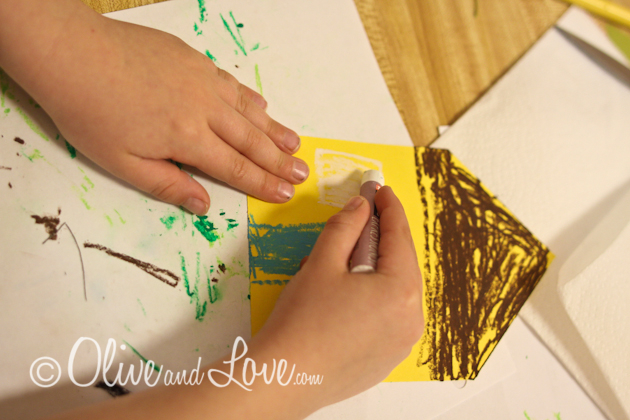
Second and third year primary students picked out their house and used a variety of oil pastels to make architectural elements and sometimes landscaping. I worked with one or two children at a time, first discussing with them what shapes they see on houses, and providing a couple examples. Two trees and a school house were designed by the teacher and teacher's aid.
20110103-IMG_7048
20110103-IMG_7044

20110103-IMG_7040
The next step is to prepare the background. I taped off a 2.5 inch border on my matt board and painted the inside with Liquitex gloss medium and varnish. I found this to be a beneficial step to decrease bleeding under the tape while experimenting on extra matt board. On my first project I only sealed the tape with the Liquitex on the border, but found an inconsistency in the first coat of paint that required a thicker second coat.
[googlead]

20110110-IMG_7199
I painted a dark blue sky, mixing a couple different colors. Using butcher paper I sketched out the border of our mountain silhouette here in Reno. I used this as a stencil to trace on to the blue painted matt board. Using black acrylic paint I pulled my brush slowly along the pencil line of the mountain and filled in the rest. I attempted to use giant acid free paper for the background, cutting the paper with a quilter's straight edge and roll cutter (similar to pizza cutter). When I tried glueing the black mountains onto the blue background the paper became too wrinkled. I even tried using felt, but found that the paint gave it the best look.

20110125-IMG_7307
After painting the backdrop, I sealed all the children's houses and trees with an acrylic finishing spray. The oil pastels don't smear as badly as traditional pastels, but are still prone to smudges. Working with the students and another parent, I glued down all the houses. It was a tight fit. Later when I went to place it in the frame, I realized why it was so crowded. Aaron brothers had cut my mat four inches too narrow. I almost cried right there in the school hallway. My project was now 27" x 36". Not a traditional pre-made frame size.

20110207-houses
After speaking with Aaron brothers about what had happened, they kindly offered to custom frame our piece. It turned out even more amazing! (and totally worth the over rowded housing population we now have on our matt).
20110211-IMG_7391
Everyone was so happy with the end result!
A wonderful family bought Our Neighborhood at the auction for $1200!
Thank you!

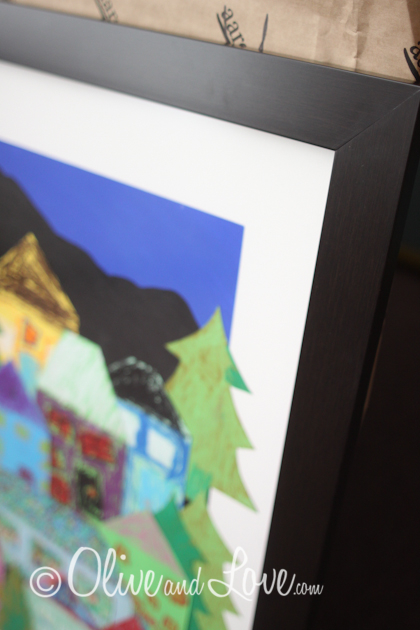
Here you can see a close up of the frame. Thank you Aaron Brothers!
20110211-IMG_7395
Here are some more close up shots of the masterpieces in this frame:

20110211-IMG_7392

20110211-IMG_7393

20110211-IMG_7394