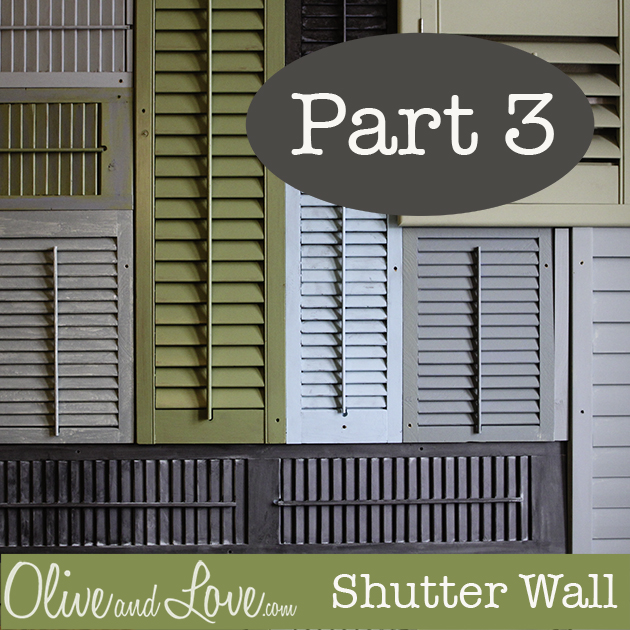
Shutter Wall - Complete! - Part 3
Many months after I figured I'd finish my shutter wall, it is finally done! It looked finished by last June after my in-laws came to visit. Learn about where I found all my shutters and check out the development of the wall in my previous post.
Arnold and Andy helped Dan with the final cuts and holes while I painted the last pieces. Thank goodness for family that likes to be busy. It was quite the game of Tetris to get the wall covered.
One of the shutters has the ability to open and close. I thought about hanging something behind it.
Maybe a kid's artwork or silly family picture? Someday I'll think of the perfect something. Until then it's actually pretty sticky to open and close and the hinges would need to be adjusted slightly.
About two weeks ago I filled in the holes (well, most of them) with paint to make them a bit less inconspicuous.
[googlead]
I bought two chandeliers at Ikea that I plan to hang about 4-5 feet apart. What do you think? I wanted to have them displayed when I shared my final shot but well, we'll get to that someday.... You know how it goes.
Update: Check out the new chandelier!
UPDATE on the update: lights were installed and have since changed when Country Living came to photo shoot the wall for April 2012)
The summer has treated us well. School starts next Monday. Back to the early wake up call of our traditional morning chaos. (*sigh*)


